
Last updated October 17, 2026
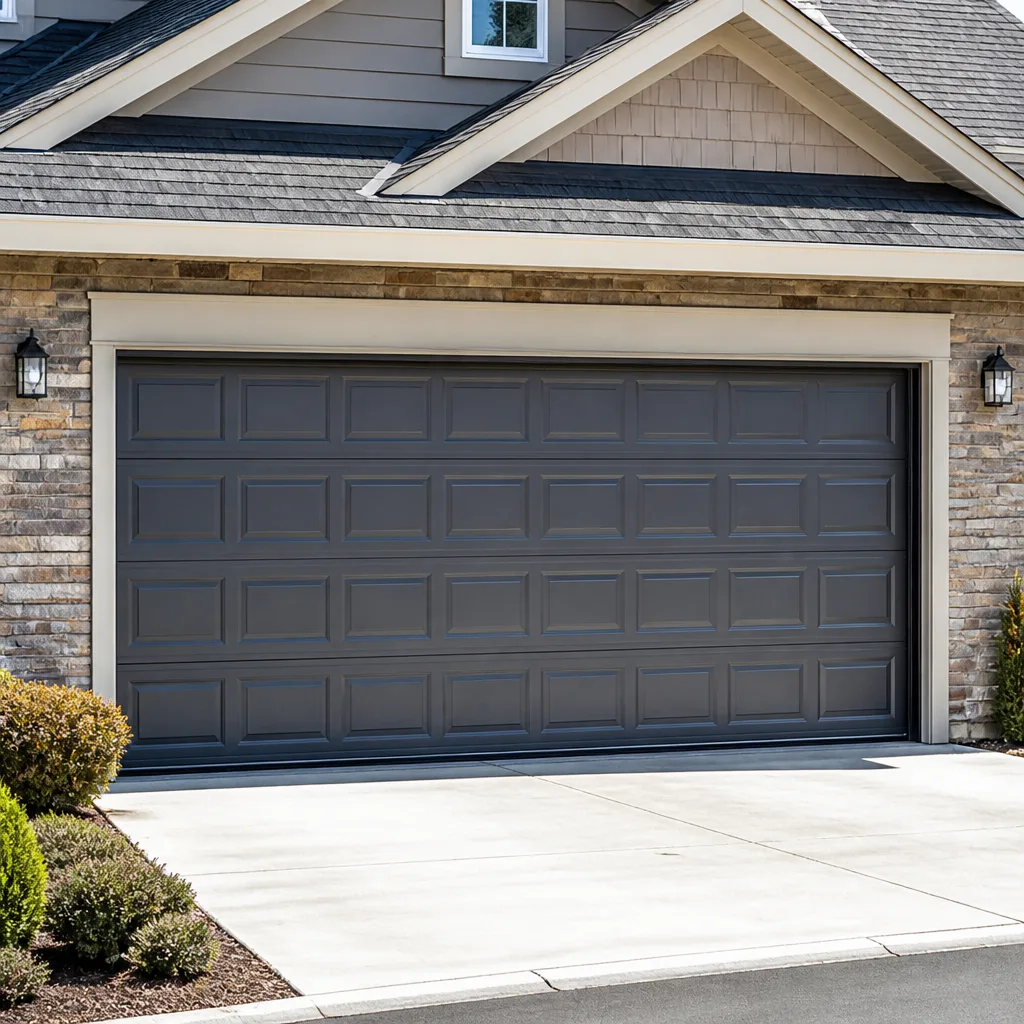 Raised-panel steel
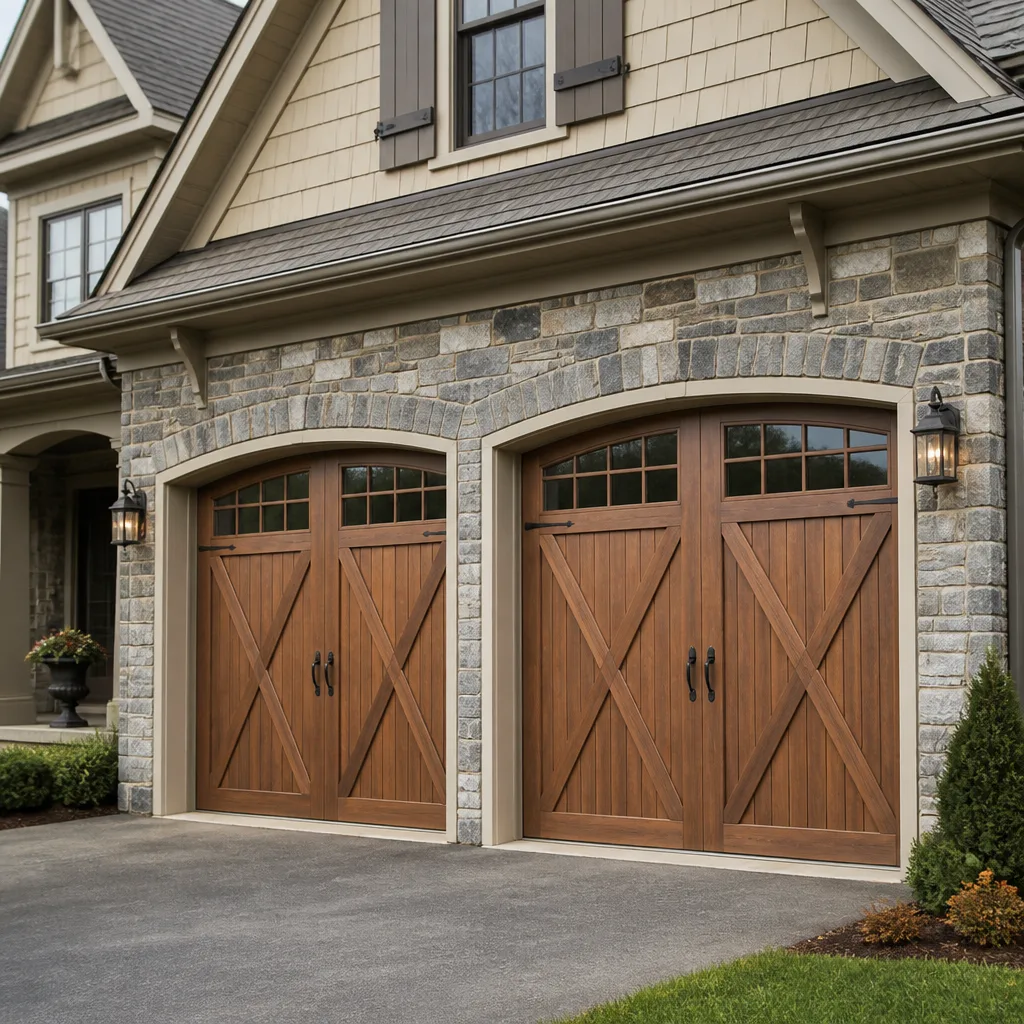 Carriage house
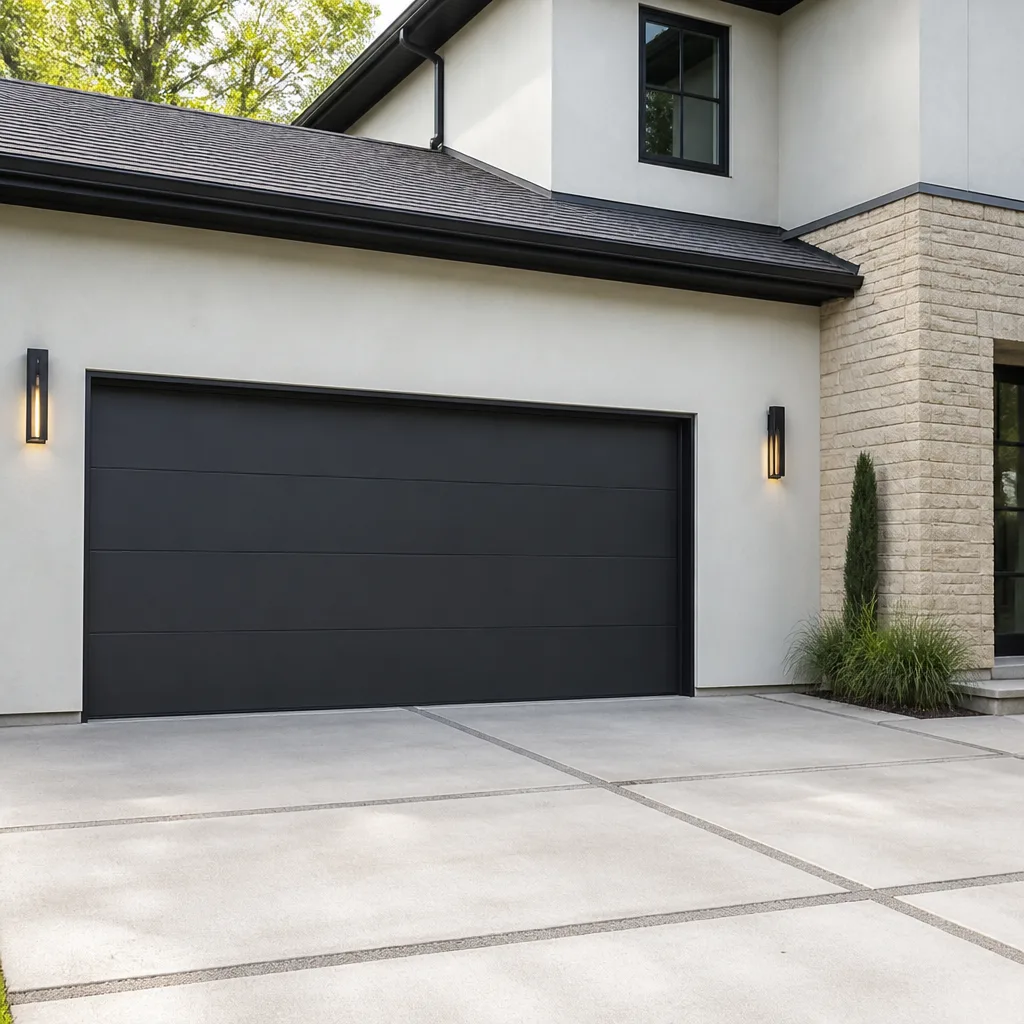 Modern flush
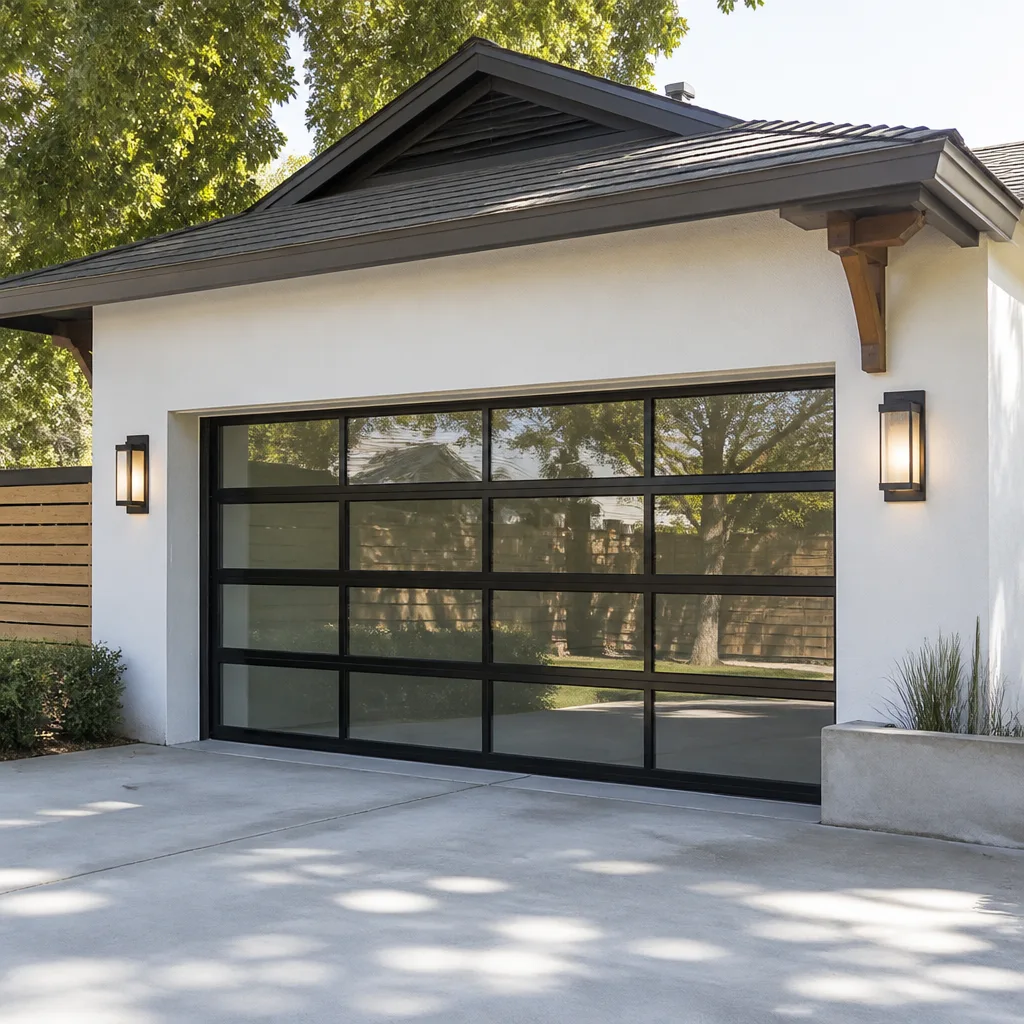 Full-view glass
 LiftMaster openers
 Chamberlain openers
Full 25-point door and opener safety check with every visit - springs, cables, rollers, tracks, and your LiftMaster or Chamberlain opener included
You get a price before we start. It does not change when the truck arrives.
Get your free estimateGarage Door Warning Signs: A Orlando Homeowner’s Reference Guide
A garage door that reverses before it fully closes is almost always described as a ‘sensor problem’ in online searches. But in Orlando, that same symptom is equally likely to be caused by a warped track from heat expansion pressing against the door panel. No sensor adjustment will fix that, and no sensor replacement will address it. What looks like one problem is often a different problem entirely, and fixing the wrong one costs real money. This complete guide to garage door in Orlando maps what your garage door is telling you back to the component that’s actually failing, with Orlando’s climate factored in from the start.
Most guides describe warning signs by what the door does: grinding, slow, uneven, loud. We’ve found that the more useful frame is what those symptoms reveal about the underlying cause. The same grinding noise in College Park can mean a $90 roller replacement or a $700 opener gear failure. Knowing the difference before you call changes everything about the conversation. Here is how to read the signs correctly.
Quick Answer
The most common garage door warning signs in Orlando are a door that reverses before closing, a grinding or squealing noise during operation, a door that sits unevenly or sags on one side, and a visible gap between the door and the floor. Each of these points to a specific component: the tracks, the rollers, the springs, or the opener. Identifying which one saves you hundreds of dollars and prevents secondary damage.
Styles & brands we work with
Table of Contents
- The Symptom-to-Cause Map: What Your Door Is Actually Telling You
- Florida-Specific Warning Signs You Won’t Find in Generic Guides
- How to Read a Torsion Spring Before It Breaks
- Which Signs Are Safe to Monitor and Which Need Same-Week Service
- The Orlando Sensor Misdiagnosis: Tracks vs. Photo Eyes
- How to Describe What You’re Seeing So You Get a Useful Phone Quote
- What to Check Yourself and What to Leave Alone
- What Different Warning Signs Cost to Fix in Orlando
The Symptom-to-Cause Map: What Your Door Is Actually Telling You
Every warning sign your garage door produces is a message about a specific component. The repair cost spread between the four main categories, opener problems, spring problems, track problems, and panel problems, runs from around $80 to over $1,400 in the Orlando market. Understanding which category you’re in before you call determines whether you’re asking for a minor adjustment or preparing for a structural replacement.
Here is the mapping that most guides skip:
- Door reverses before closing: photo eye misalignment (opener category, $80 – $120), warped track from heat (track category, $150 – $300), or a failing logic board (opener category, $180 – $350).
- Grinding or metal-on-metal noise: worn rollers (track category, $100 – $180 for a full set), a stripped opener gear (opener category, $200 – $400), or a dry bearing in the end plate (spring/track category, $90 – $150).
- Door sags on one side or sits uneven: uneven spring tension (spring category, $150 – $250), a stretched cable (cable category, $130 – $220), or a bent track (track category, $180 – $350).
- Door shudders or jerks while moving: loose hardware on the track brackets ($80 – $120), a failing opener carriage ($150 – $300), or panels beginning to separate at the hinges ($200 – $900 depending on panel count).
- Opener runs but door does not move: broken torsion spring (spring category, $180 – $340), stripped carriage teeth ($150 – $250), or a disconnected emergency release that was never re-engaged ($0 if you know where the cord is, $89 – $110 for a service call if you don’t).
In our experience serving Orlando since 2002, homeowners who can identify the category before calling get faster, more accurate quotes and avoid paying for diagnostic time that could have been a phone conversation. The rest of this guide gives you the tools to do exactly that.
Florida-Specific Warning Signs You Won’t Find in Generic Guides
Orlando’s climate creates failure patterns that a homeowner in Ohio or Arizona will never see. Humidity, salt air from the coast, UV intensity, and uninsulated garage spaces all stress components differently. Three warning signs in particular show up repeatedly in our service calls across Orlando that generic online guides and seasonal garage door care for Orlando resources simply don’t cover.
Rust staining at the cable anchor points. The bottom brackets where the lift cables attach to the door collect moisture year-round. In humid conditions, even galvanized brackets begin to oxidize. What you see is a rust-colored drip trail running down from the bracket onto the bottom panel. This tells you the cable anchor is corroding, which means the cable is carrying tension on a weakened attachment. If that anchor fails, the cable releases under load, and the door can drop unevenly, bending the track and damaging panels. The fix is a bracket replacement at around $130 – $190. The cost of ignoring it is often a full track replacement at three times that.
Seal separation at the panel corners. The weatherstripping that runs along the bottom of the door and between panels degrades under UV exposure. In Orlando’s sun, that process happens faster than manufacturers’ stated lifespans. When you see the seal pulling away from the panel corner, you’re looking at the first entry point for rain, insects, and, during summer, the hot air that drives your cooling costs up. A complete bottom seal replacement runs $90 – $150. Panel-to-panel seal replacement runs $120 – $200 depending on door size.
Opener motor heat strain. An opener mounted in an uninsulated Orlando garage can reach ambient temperatures above 110°F in July and August. Most residential openers have a thermal cutoff switch that shuts the motor down when it runs too hot. If your opener starts and stops intermittently during summer afternoons but works fine at night, heat strain is the likely culprit. The fix is often as simple as ensuring the opener’s ventilation slots are not blocked, or as involved as adding insulation to the garage or installing a belt-drive opener rated for higher temperatures. LiftMaster, Chamberlain, and Genie all make models with better heat tolerance than entry-level units.
How to Read a Torsion Spring Before It Breaks
A torsion spring that fails catastrophically in a two-car garage can damage the opener, the cables, and the door panels in a single event. That’s not a worst-case scenario we deploy to sell repairs. It’s a mechanical reality we’ve seen happen in neighborhoods across Orlando, from Winter Park to Hunters Creek. A spring under tension stores a significant amount of energy. When it releases all at once, anything attached to the door takes the shock.
So how do you read a spring before it breaks? Here are the signs, in order of specificity:
- Look at the gap in the spring coil. A healthy torsion spring has coils that sit tightly together along its full length. When a spring is nearing the end of its life, the coils begin to separate. You’ll see small gaps between wraps, usually starting near the center or the ends. If you can see clear daylight through the coil gaps, that spring is fatigued. This is the single most reliable visible indicator.
- Listen for a sharp pop followed by a rattle. Before a full break, springs sometimes slip a quarter-turn on the torsion shaft. You’ll hear a metallic pop from the spring area, then a rattling sound as the spring settles. This is not a normal noise. It means the spring’s grip on the shaft is failing.
- Feel how the door moves manually. Pull the emergency release cord and lift the door by hand. A healthy two-car door with balanced springs should lift smoothly with moderate effort and stay in place halfway up. If it feels dramatically heavier than it did six months ago, the spring has lost tension. If it slams to the floor when you let go, the spring is effectively done.
- Count the spring’s age by eye. Look at the spring. If the surface has visible rust speckling, and the door cycles four to six times a day, and the spring is older than seven years, you’re in the replacement window. Orlando’s humidity shortens spring life compared to drier climates.
When we replace a torsion spring in Orlando, we quote the full job upfront, including both springs on a two-spring door, because when one spring is fatigued, the other is within months of the same condition. Replacing both at once costs less than two separate visits and prevents the uneven door that follows a single-spring replacement. Our Garage Door Spring Repair in Orlando page has the full breakdown of what the job includes and what it costs.
Which Signs Are Safe to Monitor and Which Need Same-Week Service
Not every warning sign requires a truck at your house the same day. Some signs indicate a slow-developing condition you can watch for 30 to 60 days. Others indicate active wear that will cause secondary damage within a week. We’ve built this framework for Orlando homeowners so you can make the call with clear information, not panic, and our step-by-step guide on how to hire a garage door contractor in Orlando can help when you do.
Safe to monitor for 30 – 60 days:
- Slight seal separation at the bottom corners. If the gap is under two inches and you’re not seeing water or pest intrusion, you can watch it while you gather estimates. The door still seals adequately for now.
- Mild squeaking that disappears after lubrication. If a light application of a garage-door-specific lubricant quiets the rollers, the condition is not yet critical. Use a white lithium grease or silicone spray. Avoid WD-40, which displaces moisture but does not lubricate.
- Small rust spots on the panel surface. Surface rust, especially near the bottom panel edges, is cosmetic at this stage. Monitor it every few weeks. If it begins to bubble or flake, schedule a repair before it eats through the panel skin.
- An opener that hesitates for half a second when starting. If the hesitation is consistent and brief, and the door closes fully every time, this can be a capacitor beginning to age. Watch it. If the hesitation lengthens to over a second, or the opener starts to hum without moving the door, call.
Needs same-week service:
- Any visible gap in the torsion spring coils. This is the warning sign we described above. Once gaps appear, the spring is in the final stage of its service life. Schedule within the week.
- A door that sits unevenly when fully closed. An uneven door puts uneven load on every component: the hinges, the rollers, the cables, the opener carriage. Every day it operates uneven is a day of accelerated wear on every moving part.
- A cable that looks frayed or has loose strands. Cables under tension do not heal. A frayed cable will fail, and when it does, the door can drop unevenly. This is a same-week repair, not a same-month repair.
- Any grinding noise that persists after cleaning the track. Grinding means metal-on-metal contact. Metal-on-metal contact means material is being removed with every cycle. The component is actively destroying itself.
- A door that reverses intermittently with no visible sensor obstruction. If you’ve cleaned the photo eye lenses, checked for spider webs, and confirmed nothing is in the beam path, and the door still reverses, you may have a failing logic board or a track that’s warped enough to trip the safety system. Both conditions worsen over time.
Here’s the honest math: a same-week repair is almost always cheaper than the repair that follows a failure. A tired spring replaced on your schedule costs $180 – $340. The same spring breaking on a Sunday night damages a cable, bends a track, and turns a $300 job into an $800 job. We’d rather see you spend the smaller number.
The Orlando Sensor Misdiagnosis: Tracks vs. Photo Eyes
Let’s return to the opening claim, because it’s the single most common misdiagnosis we see in Orlando. When your door reverses before it reaches the floor, the internet tells you it’s a sensor problem. The internet is right about one-third of the time. Here’s how to tell which of the three causes you’re actually dealing with before you touch anything.
Test 1: Check the photo eye indicator lights. Both photo eyes have a small LED. On LiftMaster and Chamberlain units, a solid green light means the eye has power and alignment. A blinking or extinguished light means misalignment, obstruction, or a wiring fault. If both lights are solid and the door still reverses, you do not have a sensor alignment problem. Move on to Test 2.
Test 2: Watch the door at the halfway point. Stand inside the garage and watch the door as it passes the midpoint of the track. If the door visibly bows, flexes, or shifts sideways at any point, the track is binding the rollers. In Orlando, this binding is often thermal: the metal track expands in the heat, and if the gap between the track and the panel edge was cut too tight at installation, expansion closes that gap until the roller drags. The opener’s force sensor detects the extra load and reverses the door, the same reversal you’d get from a photo eye trip. No sensor adjustment fixes this. The track needs to be re-spaced or re-shimmed, typically a $150 – $300 job.
Test 3: Run the door with the force override held down. This is a diagnostic step, not a fix. Holding the wall button down bypasses the photo eye input and forces the opener to run on a direct circuit. If the door closes fully with the button held down, the photo eyes or the logic board interpreting them are the problem. If the door still reverses or stalls with the button held down, the load on the opener is the problem, meaning track, spring, or roller resistance. You’ve now isolated the category.
We run this exact three-test sequence on service calls across Orlando. It takes less than five minutes and tells us whether we’re quoting a sensor adjustment or a track re-spacing before we unload a single tool.
How to Describe What You’re Seeing So You Get a Useful Phone Quote
The quality of the phone estimate you receive depends entirely on the quality of the information you provide. Here is the specific language that helps a technician quote accurately over the phone, and the vague language that leads to surprises.
Say this instead of that:
- Say: “The door reverses when it’s about a foot from the floor, and both sensor lights are solid green.” Not: “The door’s acting up.”
- Say: “There’s a grinding noise during the first foot of travel, then it smooths out.” Not: “It’s making a weird sound.”
- Say: “The door sits about an inch higher on the left side when closed.” Not: “It looks crooked.”
- Say: “I can see gaps between the coils on the spring above the center of the door.” Not: “The spring might be going.”
- Say: “The opener hums and the door jerks once, then nothing.” Not: “It won’t open.”
The measurements matter more than the adjectives. “Sits about an inch higher on the left side” tells us the degree of spring imbalance. “Reverses when it’s about a foot from the floor” tells us whether the force sensor is tripping at the end of travel, which points to track binding, or mid-travel, which points to photo eye or logic board issues. A precise symptom gives you a precise price before the truck arrives.
When you call Garage Door Repair in Orlando at (850) 754-6073, a live person answers. No voicemail tree. Describe the symptom using the language above, and we’ll give you a written price range before any appointment is booked. If the on-site diagnosis confirms a different cause, we present the written price before any work starts. That is the Cedarwell Care Promise, and it applies to every visit regardless of the size of the job.
What to Check Yourself and What to Leave Alone
There is a line between what a careful homeowner can safely inspect and what belongs in the hands of a trained technician. That line exists for a reason. Garage door springs and cables operate under enough tension to cause serious injury if mishandled. We’d rather explain the boundary clearly than have a reader learn it the hard way.
Safe to check yourself:
- Photo eye alignment and cleanliness. Wipe the lenses with a soft cloth. Confirm both indicator lights are solid. Check for cobwebs, leaves, or box corners in the beam path.
- Track condition by sight. Look for visible bends, dents, or loose mounting bolts. Do not touch the track while the door is moving. Visual inspection only.
- Roller condition by sight. With the door closed, look at the rollers in the track. Cracked nylon wheels and worn bearings are visible. Do not remove rollers from a track under tension.
- Balance test by feel. Pull the emergency release and lift the door manually. A balanced door stays at the halfway point without support. If it drops or feels significantly heavy, the springs need attention. This test is safe because the door is not under spring tension when the release is pulled.
- Weatherstripping inspection. Look at the bottom seal and panel seals for gaps, cracks, and separation. Replacing a bottom seal is within reach of a careful DIYer. Panel seal replacement requires removing hinges and is better left to a technician.
Leave to a professional:
- Any work on the torsion spring or extension spring assemblies. These springs are wound under high tension. The unwinding and winding process requires specific tools and training. A mistake can result in severe injury. This is not a DIY job, period.
- Any cable or cable anchor work. Cables carry the same tension as the springs they connect to. Frayed cable replacement requires releasing that tension safely. We recommend calling us for any cable work.
- Track re-spacing or re-shimming. Adjusting track position changes roller clearance and door balance. Done incorrectly, it accelerates wear on every moving component. This is a measured adjustment best performed by a technician who understands the full geometry of the door.
- Opener logic board diagnosis. Electrical diagnosis beyond checking the photo eyes and the wall button belongs to someone with the right testing equipment. You are more likely to misdiagnose a board fault as a motor fault and replace the wrong component.
We train our technicians on eight major brands, LiftMaster, Chamberlain, Genie, Clopay, Amarr, Wayne Dalton, Craftsman, and Raynor, specifically so they can diagnose across brand lines rather than recommending the one brand they know. When our crew arrives at your home in Orlando, they arrive with the full picture, not a brand agenda.
What Different Warning Signs Cost to Fix in Orlando
Here is the plain-number map of what common garage door repairs cost in the Orlando market, based on what we quote and what we see from other reputable local providers. These are ranges, not quotes. Your specific door, brand, and condition move the number within the range.
| Warning Sign | Likely Cause | Typical Orlando Repair Cost |
|---|---|---|
| Door reverses before closing, sensor lights solid | Track binding or logic board fault | $150 – $350 |
| Grinding noise during operation | Worn rollers or stripped opener gear | $100 – $400 |
| Visible gaps in spring coils | Fatigued torsion spring | $180 – $340 for a pair |
| Rust staining at cable anchor points | Corroded bottom bracket | $130 – $190 per bracket |
| Seal separation at panel corners | UV-degraded weatherstripping | $90 – $200 |
| Door sits uneven when closed | Uneven spring tension or stretched cable | $150 – $250 |
| Opener hums but door does not move | Broken spring or stripped carriage | $150 – $340 |
| Panels separating at hinges | Panel delamination or hinge failure | $200 – $900 depending on panel count |
Every price on this table is quoted and agreed to in writing before any work begins. That is not a promotional offer. It is the Fernbrook standard on every visit, from a $90 seal replacement to a full Garage Door Installation in Orlando. Our written price includes what will be protected inside the home: shoe covers on hardwood, drop cloths on tile, quiet tools when the kids are asleep, and pet-safe products where there is a choice. If the final invoice does not match the written price, the difference is on us, not on you.
Common Mistakes to Avoid
- Lubricating the problem instead of diagnosing it. A noisy door in Orlando is usually not a dry door. If you lubricate a failing roller or a stripped gear, you mask the sound for a few days while the wear continues. Diagnose first, lubricate second.
- Replacing the sensor batteries before checking the indicator lights. Most hardwired photo eyes do not have batteries. A homeowner who spends an hour chasing a battery issue loses an hour. Check the indicator lights first.
- Adjusting the spring tension by feel. Torsion springs are set to specific tension settings based on door weight and height. Adjusting by feel changes the balance and stresses the opener. Leave spring adjustment to a technician.
- Ignoring a slight unevenness because the door ‘still opens.’ An uneven door wears every component unevenly. The longer it runs uneven, the more components need replacement when the repair finally happens.
- Calling with a vague symptom and expecting a precise quote. “The door’s acting up” gets you a wide range because it gives us nothing to work with. A specific symptom gets you a specific number.
- Waiting until the spring breaks to replace it. A spring that shows visible coil gaps costs $180 – $340 to replace on your schedule. The same spring breaking under load often doubles or triples the final invoice. The math favors paying attention early.
See the difference
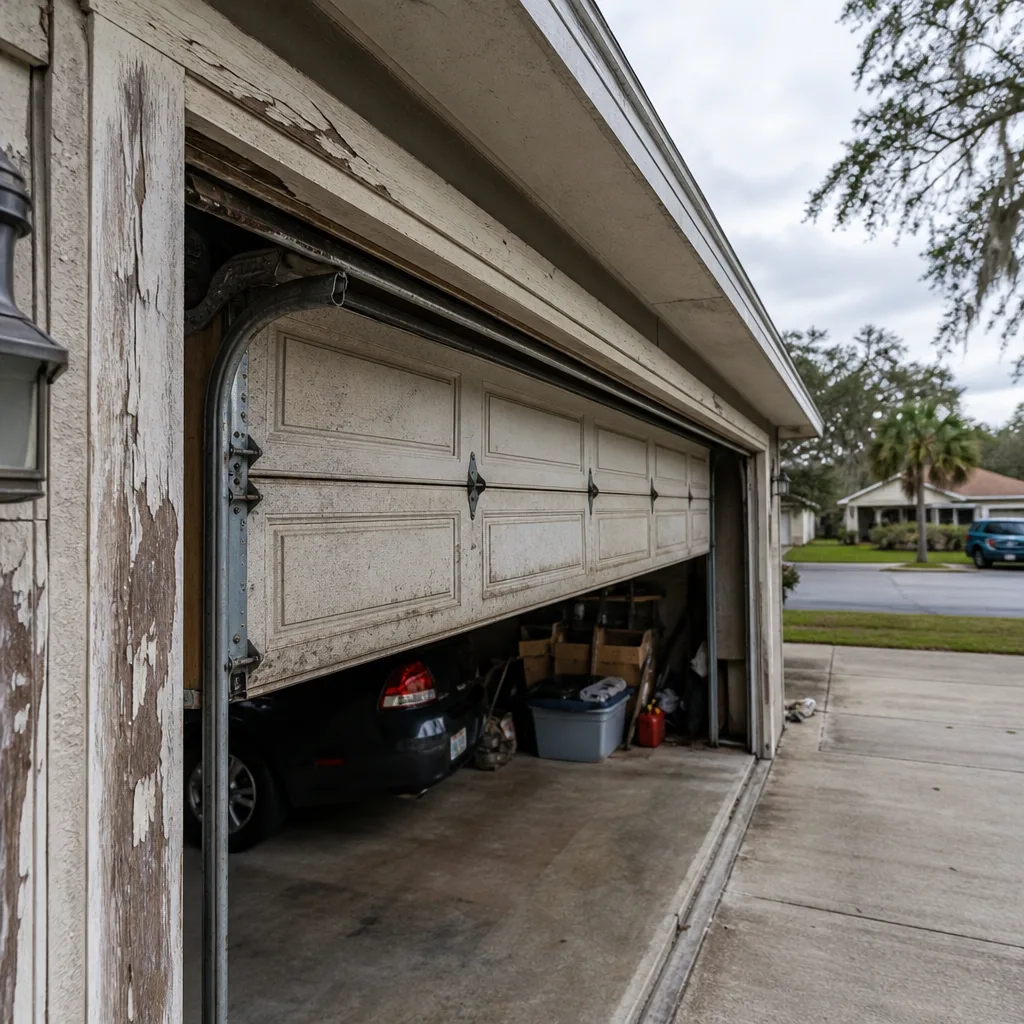 Before
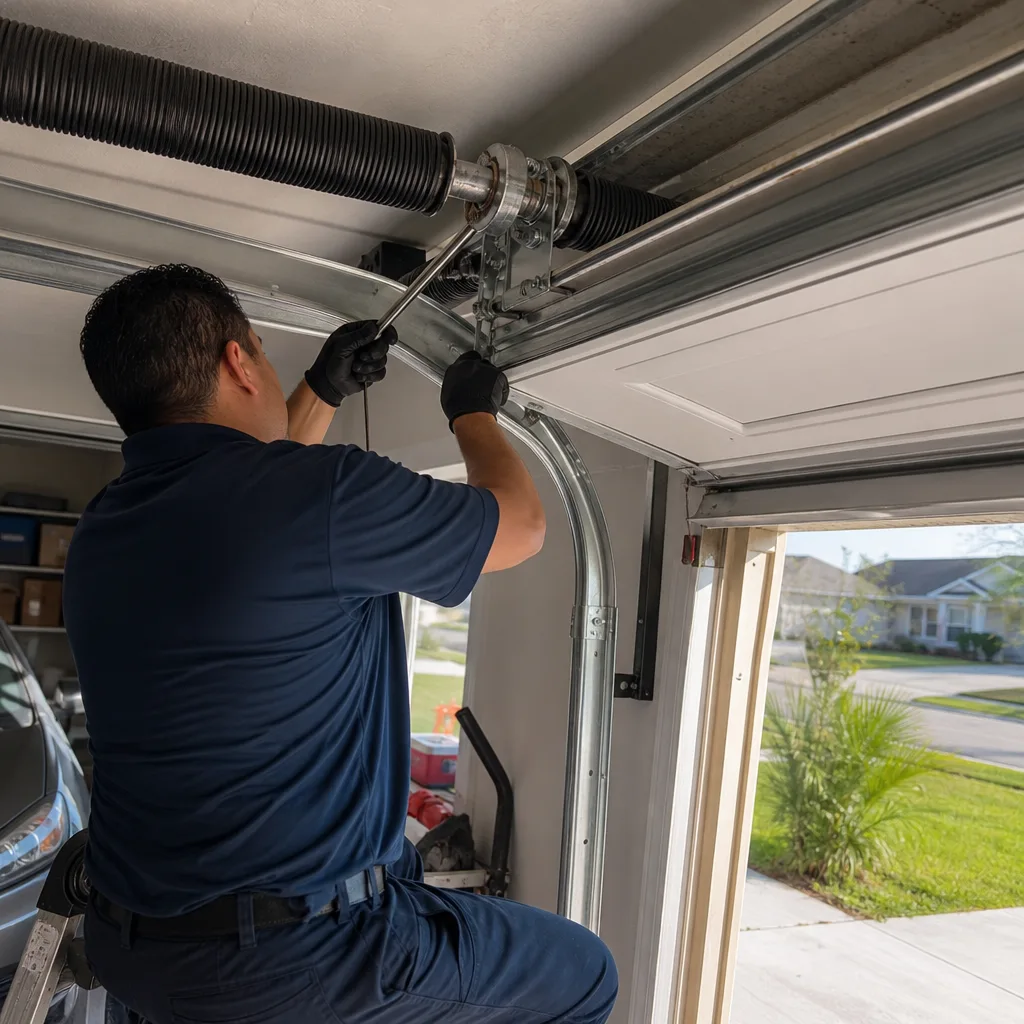 After
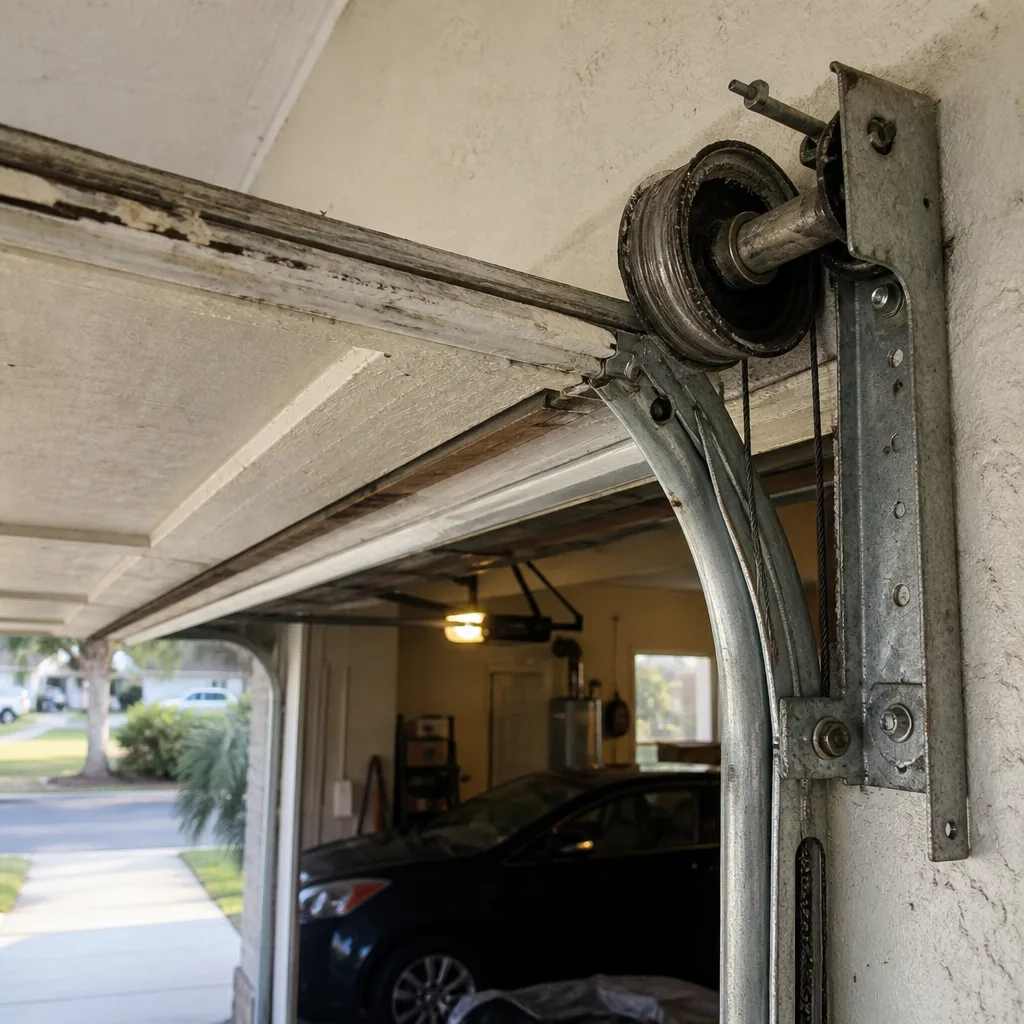 Before
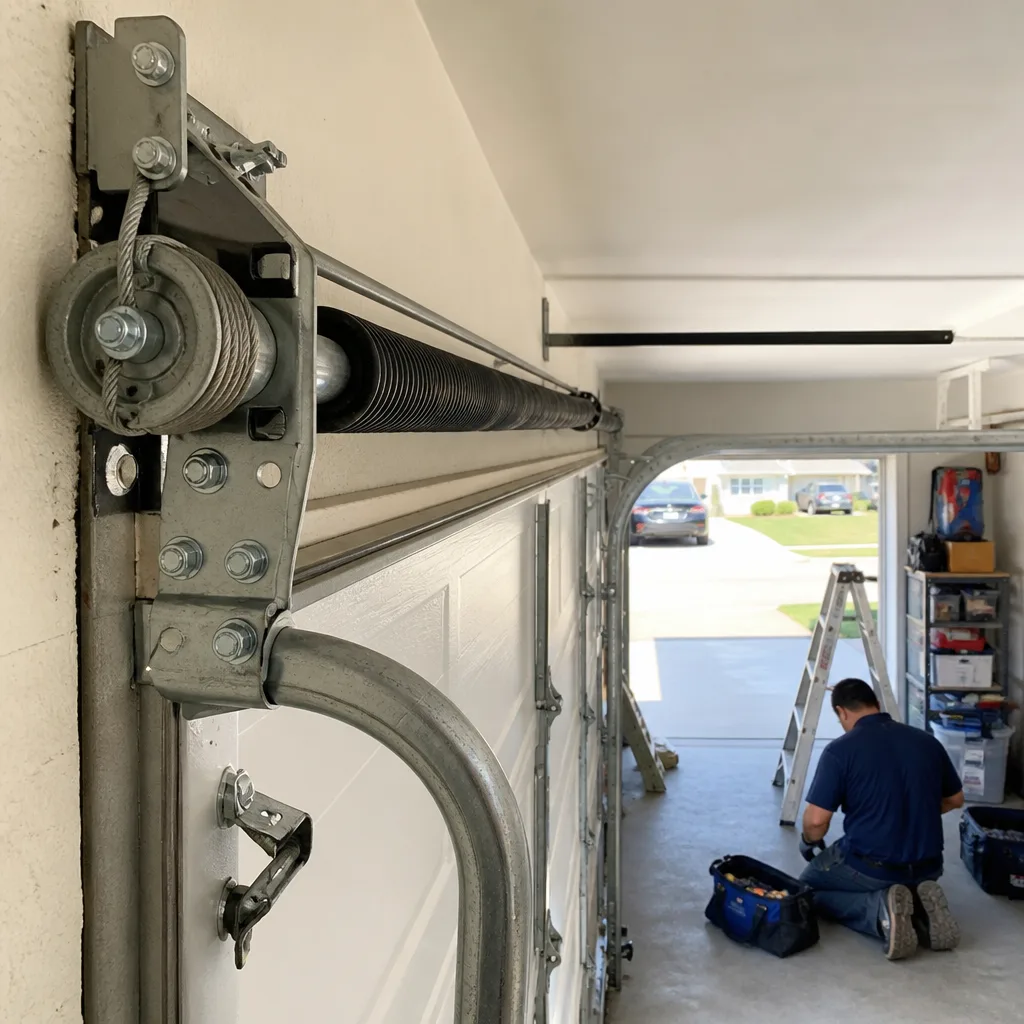 After
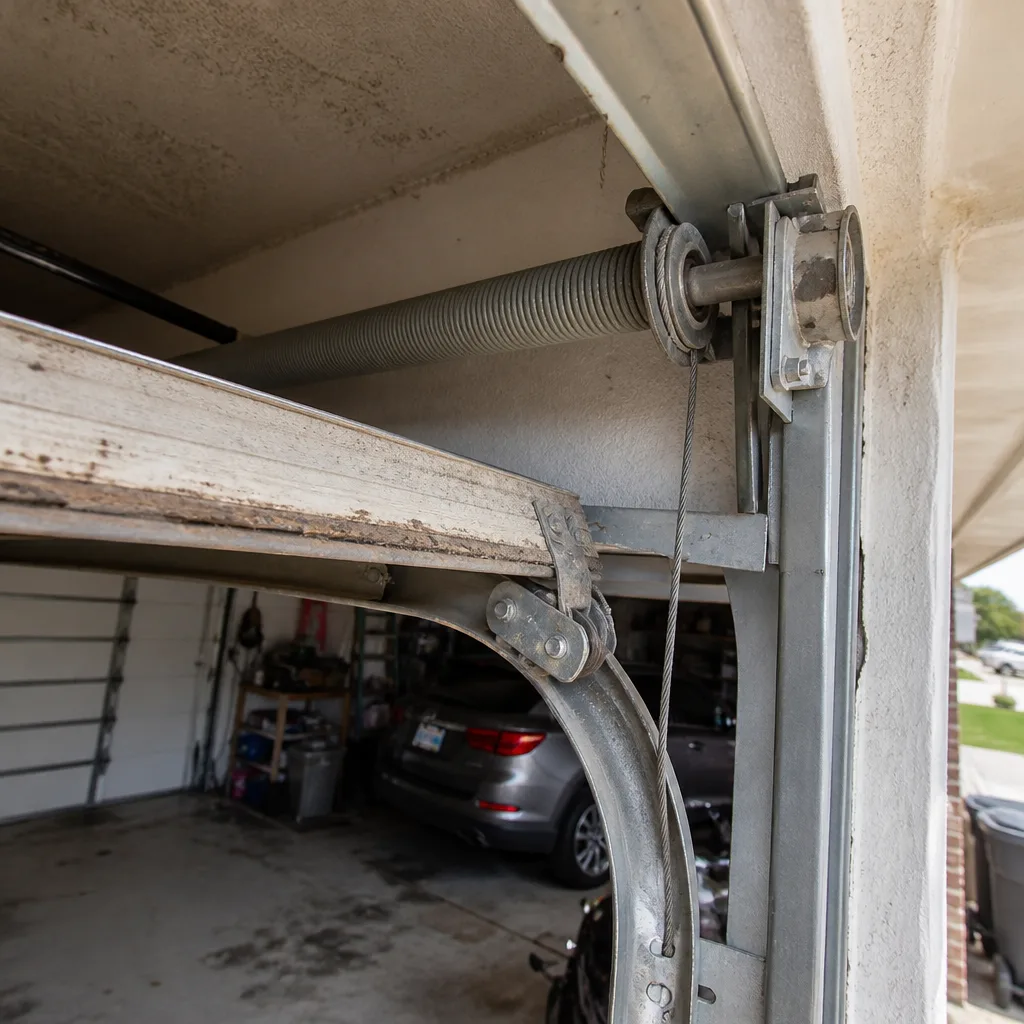 Before
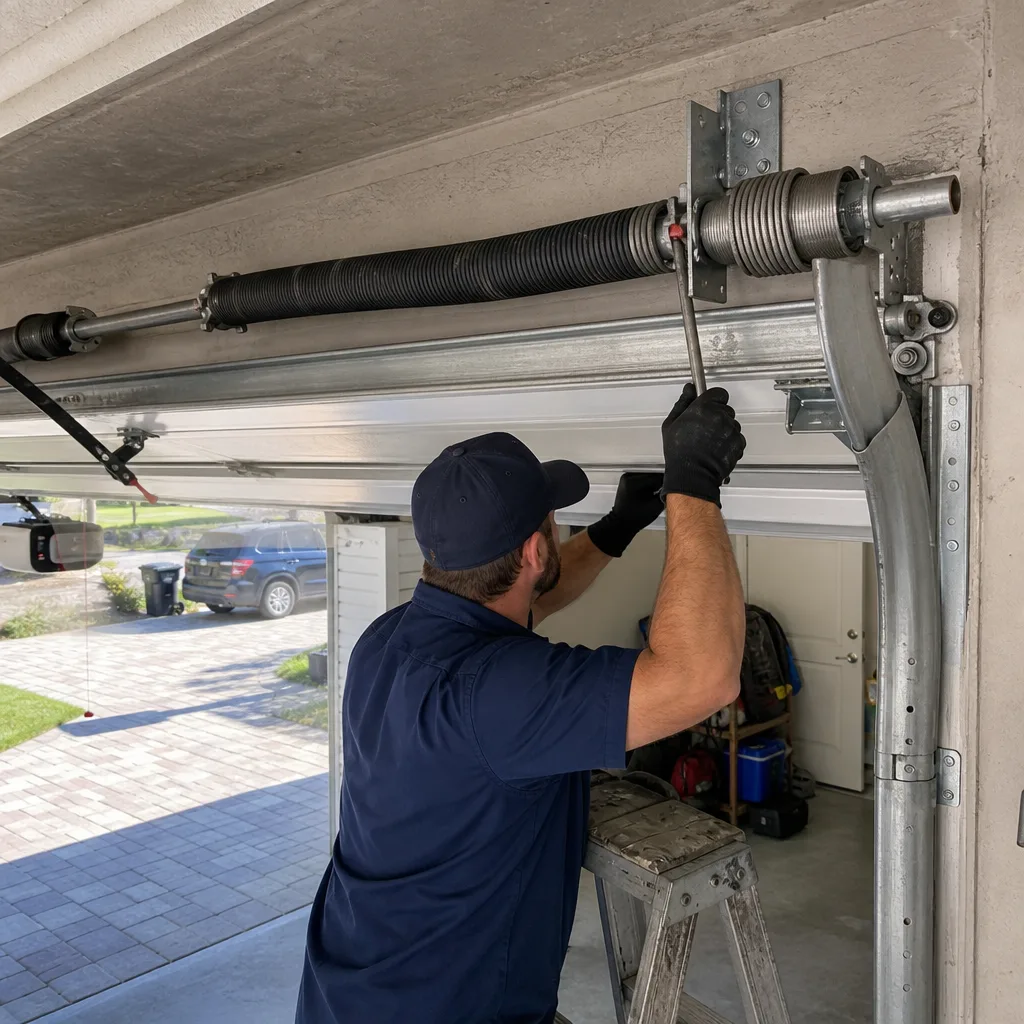 After
When to Call a Professional
Call a professional when the warning sign points to a component under tension: springs, cables, or the track system they connect to. Call when the door sits unevenly, when the spring coils show visible gaps, or when the opener’s behavior changes in a way that suggests a logic board or force sensor fault. Call when you have done the safe checks and the door still misbehaves. You do not need to solve the problem before calling. You need to describe it accurately. Fernbrook Garage Doors Orlando home offers free estimates throughout Orlando, and a live person answers the phone 24 hours a day, seven days a week. That means you can call (850) 754-6073 on a Sunday night when the door reverses for the third time, describe exactly what you are seeing, and get a real written price before the week starts.
Frequently Asked Questions
Garage door spring repair in Orlando typically costs $180 – $340 for a pair of torsion springs, including labor and parts. Single-spring replacement runs lower, around $120 – $200, but we recommend replacing both springs on a two-spring door because the remaining spring is within months of the same condition. Call (850) 754-6073 for an exact quote. Estimates are free.
In Orlando, a door that reverses before closing is caused by one of three things: misaligned photo eyes, a warped track from heat expansion, or a failing opener logic board. Check the photo eye indicator lights first. If both are solid green and the door still reverses, the problem is likely track binding or electrical, not a sensor issue. Call us at (850) 754-6073 and we’ll diagnose it over the phone.
Yes. Fernbrook Garage Doors Orlando offers same-day and emergency service throughout the greater Orlando area. A live person answers the phone around the clock, and our technicians carry common replacement parts for LiftMaster, Chamberlain, Genie, and Raynor doors on the truck. Call (850) 754-6073 to check current availability in your neighborhood.
No. The written price is delivered before any work begins, and the final invoice matches the written price. If the on-site diagnosis reveals a different cause than the phone estimate suggested, we present a new written price for the actual repair before any work starts. You never approve work without seeing the number first. That is the Cedarwell Care Promise on every visit.
Look for visible gaps between the spring coils, listen for a sharp pop followed by a rattle, and test the door balance by lifting it manually after pulling the emergency release. If the door drops heavily or sits unevenly, the spring is failing. Any of these signs means replacement should happen within the week, not the month. Our Garage Door Spring Repair in Orlando service handles spring replacement with written pricing and same-week scheduling.
Yes. Heat expansion warps metal tracks, UV radiation degrades weatherstripping and panel seals, and uninsulated garages push opener motors into thermal cutoff during summer afternoons. These failure patterns are specific to warm climates and are not covered in most generic garage door guides. If you are seeing heat-related symptoms, call (850) 754-6073 and describe what the door is doing. We will tell you which category the problem falls into and what the repair should cost.
The Bottom Line
Your garage door is talking to you, and the message is specific. A grinding noise is a roller or a gear. A reversing door is a track or a photo eye. A sagging door is a spring or a cable. Learning to read those signs correctly, before they become failures, means a $150 repair instead of an $800 one. In Orlando, the climate adds its own layer: heat-warped tracks, UV-degraded seals, and humidity-driven rust. None of those show up in a generic guide or our more guides & resources. Now you know what to look for, what to say when you call, and what the fix should realistically cost. When you’re ready for a written price before any work begins, call (850) 754-6073. A live person answers, and we’ll take it from there.
Written by Jesse Calder, Owner at Fernbrook Garage Doors Orlando, serving Orlando since 2002.